Transplantasjon av innendørs planter: TOPP 5 hovedregler!
Innhold:
Utvilsomt pryder innendørs planter hjemmet ditt. Men for at de virkelig skal dekorere rommet, er det nødvendig å skape og opprettholde komfortable forhold for deres vekst og utvikling. I denne artikkelen kan du lese de fem grunnleggende reglene for transplantasjon av innendørs planter.
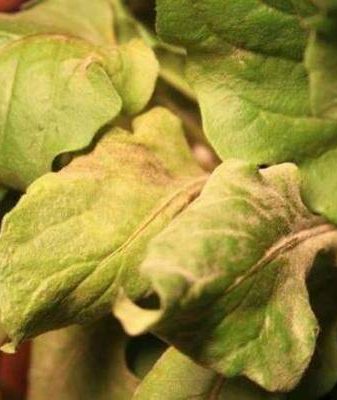
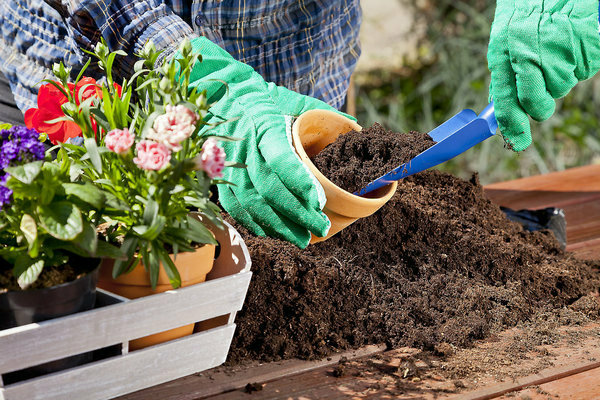
Transplantasjon av innendørs planter: foto
Dager for transplantasjon av innendørs planter
Det antas at våren er en god periode for transplantasjon av innendørs planter. Husplanter gleder seg over de første solstrålene, som begynner å varme opp og begynner å våkne.
Planter som vokser raskt og nye planter må transplanteres hvert år. For slike planter trenger du fornyet god jord, i tillegg til en ny potte, hvis volum vil være større enn den forrige beholderen. De plantene som med rette anses som voksne, krever ikke omplantning hvert år. Hvis planten ser bra ut, kan du bare endre jordlaget i potten, plukke den opp med et spesialverktøy og legge til ny jord.
For eksempel er palmer for et rom planter som trenger konstant omplantning bare i begynnelsen av vekst og utvikling. Når anlegget har nådd sitt høydepunkt, kan det plantes om hvert sju år. Men forutsatt at fôring utføres i tide, og laget på toppen vil også bli oppdatert jevnlig.
Noen kaktuser krever heller ikke omplanting om våren.
Ikke glem at planter ikke kan transplanteres i blomstringsperioden. Planter kan felle alle blomstene sine. Derfor anbefaler vi deg å omplante blomstene først etter at blomstringen er over.
Innendørs plantetransplantasjonsteknologi
I verden er det et stort antall måter å transplantere en plante som inneholder visse funksjoner. Men for ikke å skade anlegget må du nærme deg denne prosessen med spesiell oppmerksomhet og nøyaktighet.
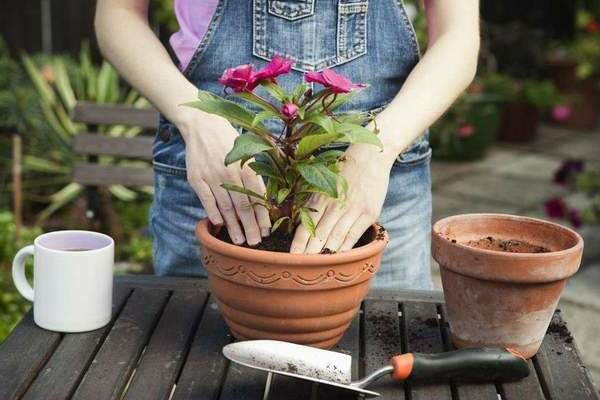
Under prosedyren med en vanlig transplantasjon plager de egentlig ikke: stueplanten tas ut av beholderen, den gamle jorda fjernes, og plasseres deretter i den fornyede jorda. Denne metoden er egnet for friske blomster som transplantasjon ikke forårsaker stress for.
Metoden, som inkluderer bytte av jord, brukes når planten har en slags sykdom, og hvis produsenten ikke ga planten de nødvendige forholdene, som for eksempel førte til at planten frøs. Også, hvis planten har blitt angrepet av skadedyr, må jorden skiftes ut helt. Planten må trekkes forsiktig ut av beholderen, jorden må fjernes forsiktig og rotsystemet må skylles med varmt vann. De røttene som allerede har forverret må fjernes, og selve planten anbefales å legges i en løsning av kaliumpermanganat i en halv time. Vær oppmerksom på at løsningen må være svak.
Hva er omladning? Dette er en annen måte. Med denne prosedyren bør du trekke planten ut av beholderen uten plutselige bevegelser, og deretter overføre den til en annen pott, hvis volum vil være større enn den forrige. Vær oppmerksom på at jorda ikke ristes av! Det resulterende tomme rommet kan fylles med underlag. Det særegne ved en slik transplantasjon er at det er viktig å redde en jordklump. Denne metoden fungerer bra for de plantene som det er stressende å transplantere. Lunne planter vil takke deg hvis du følger alle forholdene og utfører transplantasjonen riktig.
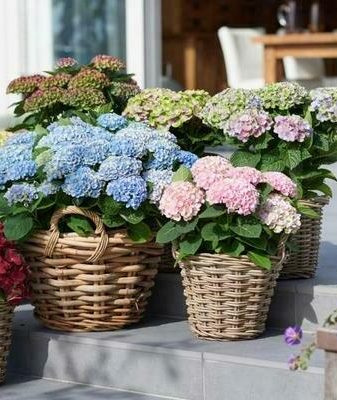
Transplantasjon av innendørs planter: foto
Land for transplantasjon av innendørs planter
For det meste har jord en stor innvirkning på om en transplantasjon av et husplante er vellykket eller ikke. Det er veldig viktig å være spesielt oppmerksom på valg av jord for plantetransplantasjonsprosedyren. Tross alt vokste de alle under helt forskjellige forhold, klima, de elsker forskjellig jord og har sine egne egenskaper.
For å lykkes med å transplantere, anbefaler vi at du kontakter en spesialbutikk og kjøper ferdig jord der. Produsenter tilbyr et bredt utvalg, så du vil definitivt finne det alternativet som passer deg.
Hvis du likevel ikke kunne få ferdig jord, kan du prøve å lage den selv. Ta en universell jordtype som grunnlag. For hver plantetype må du lage jord i samsvar med deres egenskaper.
Du kan også bruke løvjord, men merk at den må desinfiseres grundig. Ofte bruker de følgende metode: en beholder bestående av metall tas, jord må helles i den og settes i ovnen for oppvarming. En slik prosedyre er nødvendig for å forebygge å møte alle typer insekter - skadedyr og sykdommer.
Velge riktig gryte
Beholderen som planten skal transplanteres i er på andre plass når det gjelder å påvirke suksessen til transplantasjonsprosessen. Mange nybegynnere står overfor spørsmålet om hvilken gryte som er best å kjøpe? Hvilket materiale skal en god gryte være laget av?
Svaret er enkelt. Forskjellen mellom potter laget av slike materialer er liten: poenget er at jorda i en leirebeholder vil tørke ut mye raskere enn i beholdere laget av andre materialer, noe som betyr at du må vanne plantene i en leirkrukke oftere.
Hva er poengene du bør vurdere når du kjøper potter?
Små beholdere er godt egnet for kaktuser, hvis dybde også er liten. Dette skyldes det faktum at røttene til disse plantene er dårlig utviklet, noe som betyr at kaktus ikke trenger store potter.
Bregner må kjøpe store containere. Dette skyldes deres avlsmetode.
En dyp krukke fungerer godt for håndflatene, ettersom disse plantene har et ganske stort og sterkt rotsystem.
Husk at den nye gryten nødvendigvis må overstige diameteren til den forrige beholderen, med omtrent tre centimeter. Sørg for å se på planten og dens størrelse i nåtiden, og ikke bruk potter som er for store. En riktig valgt beholder sikrer at jordforsuring vil omgå deg og plantene dine.

Transplantasjon av innendørs planter: foto
Drenering for transplantasjon
Dreneringshull er et annet element å se på når du kjøper en gryte. Ofte står blomsteroppdrettere overfor en slik situasjon når disse hullene er for små. Derfor kan du ty til å øke størrelsen med egne hender. Det er enkelt: ved hjelp av en drill eller en godt skjerpet kniv må du "utvide" disse hullene litt. Dette må gjøres uten feil, siden hull som er for små kan bli tette, og de vil ikke tillate overflødig væske å passere gjennom.
Det er på grunn av så små hull at plantens rotsystem forfaller. Alt dette fører til plantens død. Vær oppmerksom på at dreneringshull for keramiske potter er mye vanskeligere å lage enn for beholdere laget av andre materialer.
Drenering er nesten hovedbetingelsen som ikke kan ignoreres hvis du vil gjøre transplantasjonen vellykket. Ved å gjøre drenering, hjelper du planten til å leve lenger og bedre, siden drenering gradvis fører til at overflødig fuktighet kommer bedre ut, jorden er beskyttet mot forsuring og luften trenger mye bedre inn. Et slikt dreneringslag bør være omtrent 1/5 av hele beholderens høyde, og i dette tilfellet er det bedre å gjøre litt mer enn mindre.
Småstein, leirepartikler fra potter som ikke har vært brukt på lenge, kull kan brukes som dreneringslag.Du kan også bruke skum, men du bør bare velge det når andre materialer ikke kan brukes. Dette skyldes at røtter kan spire gjennom dette materialet, og dette vil da føre til noen vanskeligheter med fremtidige transplantasjoner. Men det beste ville være hvis du går til en spesialbutikk og velger en ferdig drenering, som garantert vil passe til plantene dine og vil være en utmerket assistent i transplantasjonsprosessen.
I denne artikkelen gjennomgikk vi de viktigste reglene som må følges hvis du vil forbedre plantene dine og gjøre prosessen med å plante innendørs planter enklere for deg selv. Tro meg, hvis du følger disse reglene, blir transplantasjonen av innendørs planter enklere og mer behagelig, og plantene vil takke deg og glede deg over den nydelige blomstringen.